Create a timer directly in Timerinator when you are running a presentation that does not need PowerPoint tracking. You know... for your diatribes and interpretive dances.
A standalone timer keeps the section plan, live countdown, and pace information in one place.
Create timer file
Open Timerinator and select File, then New standalone timer or press CTRL + N
It'll create some sections for you, but that's just to make things easier for you.
Edit timer settings
Use Edit, then Edit timer... to open the timer settings.
Set the title
In the Settings tab, under Presentation, set the Timer title to the title of your session, or Fred or whatever.
Since this is a standalone timer, you do not need to set a PowerPoint file.
Set the timing
If you know when your session is scheduled for, set a Scheduled start, under Timing. You can use 12-hour syntax (am/pm), or the 24-hour system.
Once set, you'll be able to use the Delayed start feature and get a countdown while you're waiting for your session to start.
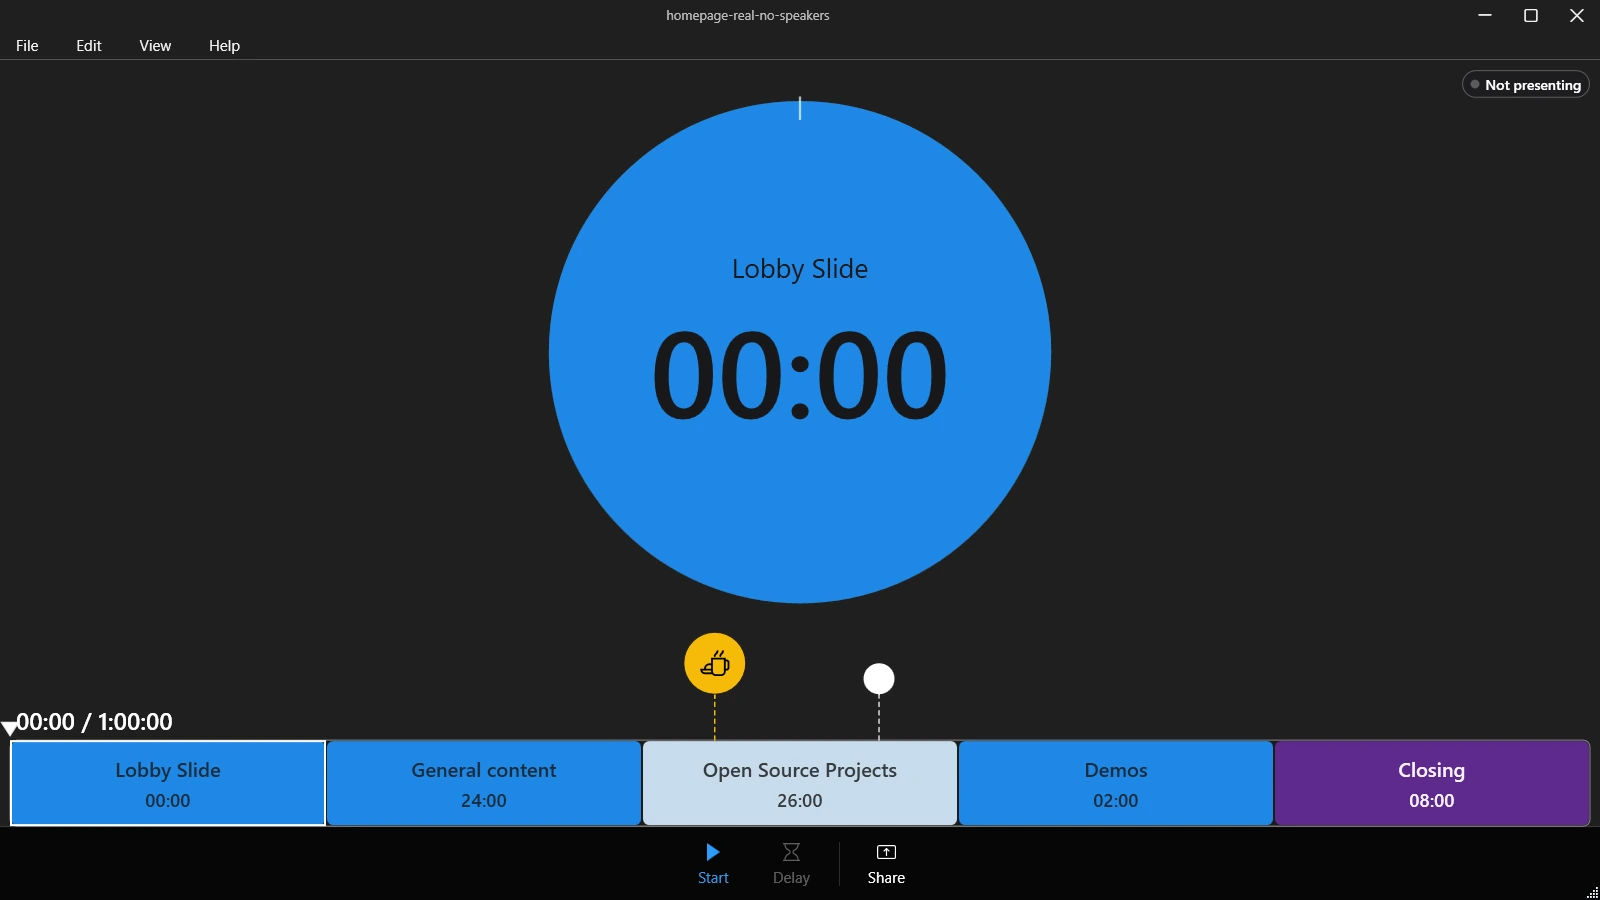
Standalone Timerinator timer an active countdown during a delayed start.
If you use a Delayed start, you can show a different slide while the audience waits for you to start. Use Advance to slide # on start to specify which slide to jump to when the countdown ends.
If you started late, or you had to stop and restart your timer during your session, you can use Timer start position to force the timer to start with elapsed time. It is easier than doing math to find out how much time is left.
Set how much time you have
In the Sections tab, under Available time, enter how much time is allocated for your session in Total available. You can use values like 1h, 30min, 1:30:00, or 3600s (not sure why you would -- but you can).
Define your sections
Section editor in timer settings.
In a standalone timer, sections is how you keep track of all the main topic in your presentation, and how much time you have for each topic.
Add new sections with + New section.
Edit the new section you created and specify a Section name by selecting the cell and entering the title/name of your section.
Enter how much time you plan to spend in that section. Don't worry, we'll be able to adjust it later.
For standalone timers, leave the number of slides to 1. If you want a section to have more "weight", enter a larger number -- it'll affect how time is redistributed among the sections.
Set a pretty color for the section in the Color column. You can enter a hex color value, or use the palette icon to use a color picker. If you don't know what color to use, just leave it blank and we'll auto-generate a color.
Aren't those colors pretty?
If you want, you can toggle Grow and Shrink to indicate how you want Timerinator to redistribute time and specify not to go below the time you specify (i.e.: shrink), or to expand beyond the time you specified (grow).
Distribute your time
You can use Distribute time to automatically assign all the time you've got. It will use the number of slides, and the shrink/grow settings to figure out where to allocate excess time and where to remove time if we're running low on time.
If you already gave this presentation before and used this timer before, you can use Use averages to redistribute time based on how much time you spent in each section in the past.
Apply your changes
Use OK to apply the timer settings.
Save
Use File | Save (or press Ctrl + S) to save your changes to a .timer file.
Start and present
Select Start when the session begins (or use Delay to start a countdown to your Delayed start setting.
Let the timer advance and move to the next section automatically (based on how much time you assigned to each section), or use Next and Previous to advance manually. You can also just click on a section in the bottom timeline to skip to that section.